So for those of you who have been eagerly awaiting the final recipe for this cheese (and those of you who haven’t), here we go.

I’m going to write this out so anybody can make this cheese. Some of you will know most of these steps, some not – so will make it easy for those who haven’t tried to make cheese, but want to.
First off – I use RAW milk. I’ve never actually made any cheese with pasteurized milk, but almost all recipes for cheese that you will find, ask for pasteurized milk – so I’m thinking you would be just as successful if that’s all you have access to.
Actually, there are two reasons we add a ‘starter’ (in this case cultured buttermilk) and rennet to the milk to create a cheese.
1 – pasteurized milk is technically ‘dead’. There isn’t any bacteria left in it – so we have to add it back in.
2- adding a starter and rennet gives us a reliable timeline – meaning that you can reliably expect that at x time you will have a clabber ready to cut into curds.
As an aside – if you’re using raw milk, you can make many basic cheeses without adding anything. Simply leave the milk in a warm place (I use the warming oven of my cookstove to clabber milk for the chickens) and in twelve to twenty four hours, you will have a nice clabber that is ready to be cut into curds – and you can carry on with the rest of the steps in your cheese. Will that work for this cheese? No. The cream will separate and you will be unable to stir it back into the milk.
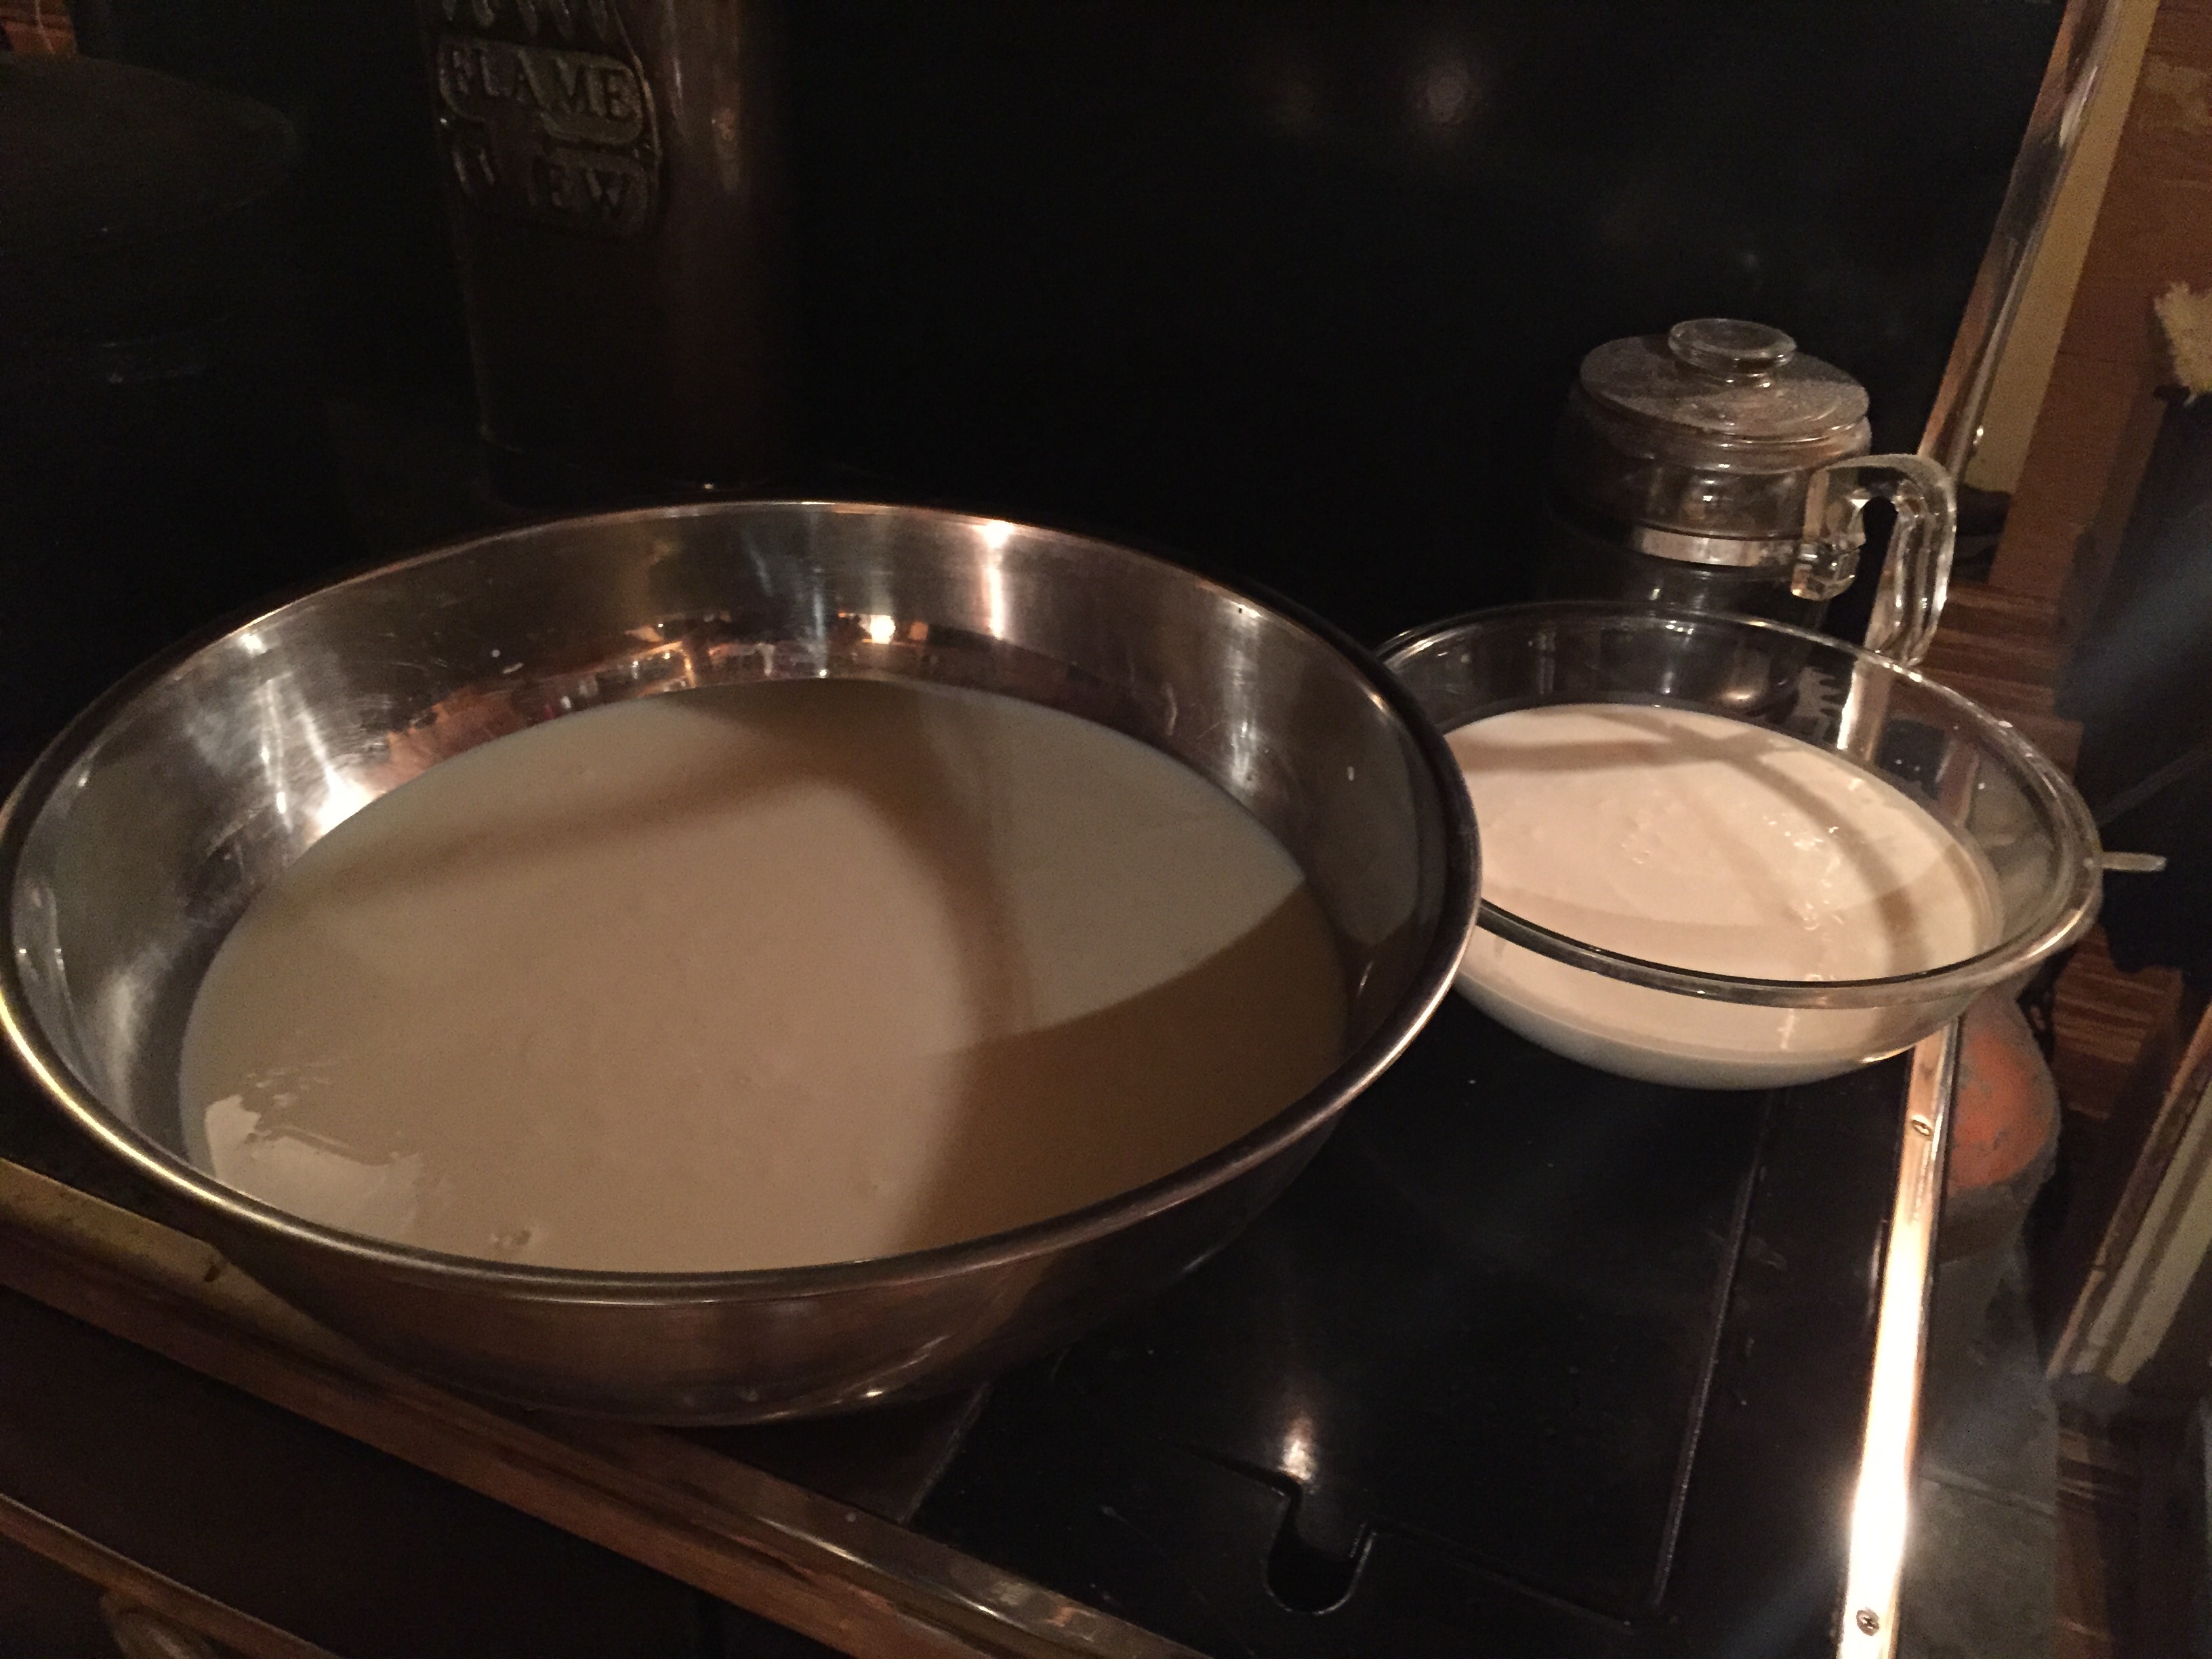
I have here, 7 quarts milk and 2 quarts cream (measured out) warming separately. This seems to be the trick to keeping the cream from rising to the top and NOT getting mostly drained off with the whey. I have come across a couple of recipes that suggest – ‘if using raw milk, top stir for several minutes longer’. I don’t know five minutes from several minutes – and apparently my ‘top stirring’ karma is lousy, because it has never worked for me, the cream still separates.
Warm the milk to 92 degrees. A dairy thermometer works nice, but any thermometer that registers that low of a temperature works fine too.
Once the milk and cream are at 92, combine and stir gently for one minute.
Now add 1/2 cup cultured buttermilk, mix thoroughly.
Dissolve 1/4 teaspoon liquid rennet into 1/4 cup cool water, add to milk and stir with an ‘up and down’ motion for one minute.
(if using rennet tablets -dissolve a quarter of a tablet in cool water and add to milk)
Cover with a lid (I use the lid off of my big water bath canner), and leave to set for one hour. Do not keep on the heat source, but do leave it somewhere free of a draft.

Now take a long knife (a bread knife will do) and cut straight across, half inch or so apart, all the way across and through to the bottom in one direction, then in the opposite direction. Now take the knife and do your best (don’t lose sleep over this step) to cut through on an angle horizontally – the goal being to end up with your entire curd ‘cubed’ in similar sized cubes. I aim for a half to three quarters of an inch cubes – if you wish, you can make them smaller yet – and you will end up with a denser end product. I like the ‘holes’ in mine, so I’m a little liberal with the size of the cubes. Now take your hands and gently stir through the cubes, using your knife to lop up any that are overly large. Once you’re satisfied with the size, move the whole issue back over a low heat.
The goal for the next half hour, is to have the curds reach a temperature of 95 degrees – and take the half hour to accomplish it. In other words – no instant ‘get it hot’ technique here, just a slow increase in heat. Every five minutes or so, simply use your hands and gently stir through the curds – the idea being, you don’t want them to matt up into a large lump. I keep saying ‘gently’ because at this point, the curds are rather fragile, and you’re not looking for cheese soup.
Once you reach 95 degrees, let them set undisturbed for five minutes.
Now find your spaghetti colander, or a ladle – and drain off the whey. Leave a couple of cups behind, put back on low heat and add 2-4 Tablespoons coarse, non iodized salt and mix in. Pop the lid back on and let set for thirty minutes longer, trying to keep the temperature at 95 degrees. Too cold? Carefully raise the heat. Try hard not to get over 95, err on the side of too cool rather than too warm.

Pop the lid off and you will now have something that looks like this. Notice the curds have shrunk, and there will be more whey expelled.
Now flip the whole issue out into a colander lined with a good quality damp cheesecloth and let drain a few minutes.

Next, flip it into your press (more on that in a minute) and press at 35 pounds pressure, for 6 hours. Then remove from press, carefully peel off the cheesecloth, wrap, and refrigerate. I always taste it at this point, it is after all, ready to eat. You should get about a two pound block/round – I cut mine in half and store separately.


You’ll notice the cheese is white, I did not add any color – it makes no difference to the taste. If you think yellow or orange cheese is more appealing, cheese color can be sourced online.
Now – you can laugh at my cheese press 😀 I put it in the photo lineup for the simple fact that you can use just about anything to press a cheese – in this case, a coffee can with the ends cut out, a wood follower cut to the same size, a honey bucket full of whatever shrapnel my hubby managed to round up on the farm that equaled a weight of 35 pounds. Yes, it’s a little lopsided, I just walk past now and again and give the honey bucket a turn to balance it out. I have the whole thing sitting in a vegetable blancher/strainer/steamer which is part of my large press, so the whey can run out the bottom. The coffee can size actually works better for a two gallon batch of cheese.

This press, works for a one gallon batch of cheese – I bought it some time ago from Lehman’s Non Electric. Now I’ve never had a complaint about any of their products, but I will say – the information isn’t technically correct. They say it works for a two pound cheese – but it does not, it’s simply too small. (One gallon milk generally equals a one pound block of pressed cheese, or two pounds of soft cheese – which doesn’t need pressing)

This particular press, is one my son-in-law made for me years ago. It works for a four gallon batch of cheese, and although I’ve tried to make it work with the coffee can – the rods in the middle that sit on the follower are spaced just a wee bit too far apart to fit in the can. It can be done if you want to fight with the thing – but usually not before I want to toss the entire issue out the front window. Hence, the odd looking honey bucket/random found weights system.
Last but not least –
Would I try this cheese with yet more cream? No. I’m pretty sure I’m maxed out on the cream volume.
Can you flavor this cheese? Absolutely. I’ve added garlic powder – you could add minced hot peppers, one or two drops of liquid smoke – I suppose the sky is the limit. If you do want to add flavoring – you add it when you add the salt, and let it ‘steep’ until it is ready to drain and put into the press.
I’m interested to hear back from anybody who gives this recipe a try, and I’m always open to be corrected, or given better information should anybody have anything to offer to set me straight.
Good Luck!!


Cool. Thanks, I’ll give it a whirl over the weekend, if time permits. I’ll probably make some minor amendments as I’m making a far smaller batch but… Oh, and I’ll be using pasteurised milk and cream. There should be no problem there. I make lots of European-style Quark with pasteurised milk plus either live buttermilk or a self-made ‘starter’ (no rennet used for Quark).
For the self-made starter I clabber raw milk a couple of times with ‘batch one’ feeding ‘batch two’ – aiming for a more reliable ‘set’ to the starter. Then I use the clabbered raw milk as the starter for an endless supply of Quark made from organic non-homogenised milk. Endless in that if I keep things clean each batch of Quark acts as ‘starter’ to the next batch. If things get a little too ‘cheesy’ I just simply clabber more raw milk and refresh the existing Quark ‘bacteria’ or start again completely.
Why not use raw milk throughout? It’s a prized commodity here and difficult to get, so I ‘husband’ the stocks gained at the monthly farmer’s market. If I lived much closer to the supply, I wouldn’t hesitate to use raw milk for the whole Quark / and cheese process.
Thanks again for the recipe. More anon.
You make a really good point about making your own starters – I used to do that many years ago and mean to get back to it. I just used to use buttermilk to culture more buttermilk – oddly – never thought to use clabber to make more clabber as a starter. I love quark – but being the only one here who does means it’s impractical for me to make. I’m now on a mission to turn out a decent blue cheese (only because it’s my favorite) – but I need to figure out how to control the humidity in a small fridge I want to donate to the cause. 😊
Good luck with the blue cheese. Frankhauser suggests a technique for humidity, perhaps a bit hit and miss…? See http://biology.clc.uc.edu/fankhauser/Cheese/Blue_Cheese/Blue_Cheese.htm
I can’t wait to try this! Thanks! 🙂
Let me know how it works out 😊 I like feedback, and suggestions are welcome.
I LOVE raw milk! Thanks, I can’t wait to try this!
-Elizabeth
http://www.aquaberrybliss.com
Please let me know how it turns out and if you’ve any suggestions 😊
Your cheese looks amazing. When I ever get the time to give this a whirl, at least I know a reliable source!
I have yet to make cheese, and when I do it will have to be with pasteurized milk, since I don’t know of a source of raw milk in my area. I’m actually heartened by your honey bucket/oddments cheese press – one of the things that often puts me off projects like this is the lack of proper “gear”. Clearly, there are work arounds :).
That’s part of what I was trying to accomplish – making it easy for anybody to try. Cheese making is already a rather intimidating project – being able to try it without a big investment in equipment makes it much more do – able.